Showing posts with label Cristening Gown. Show all posts

Thursday, October 25, 2012

Sweet Ashley

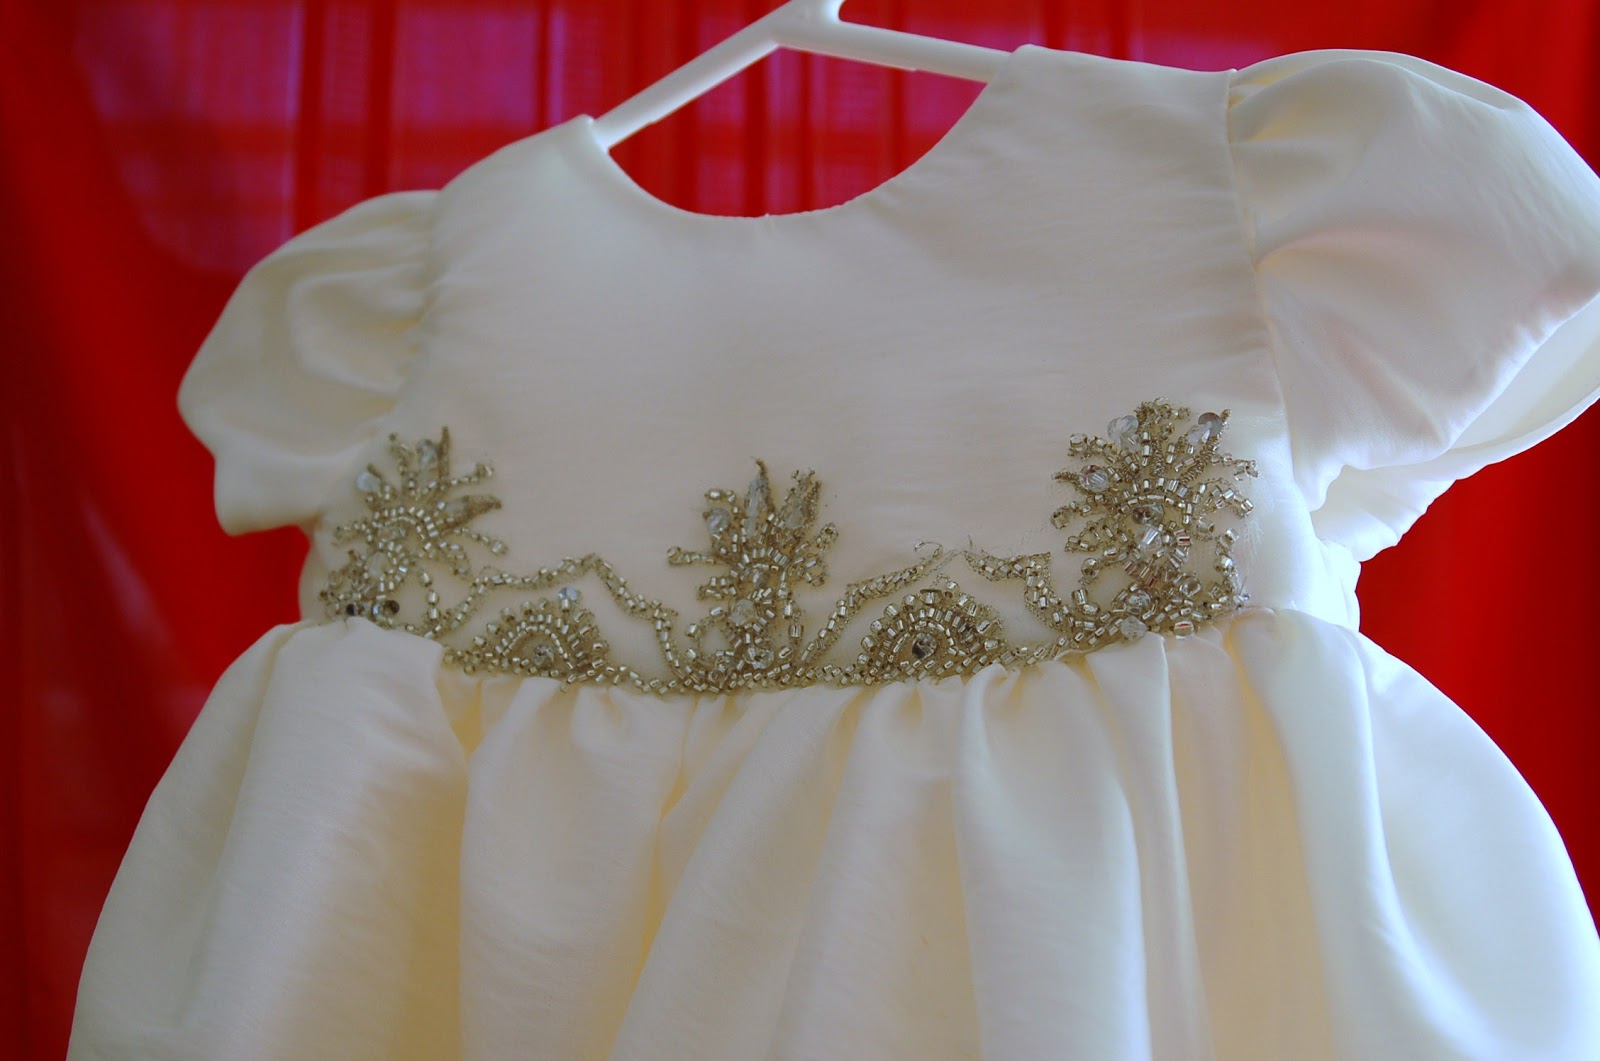
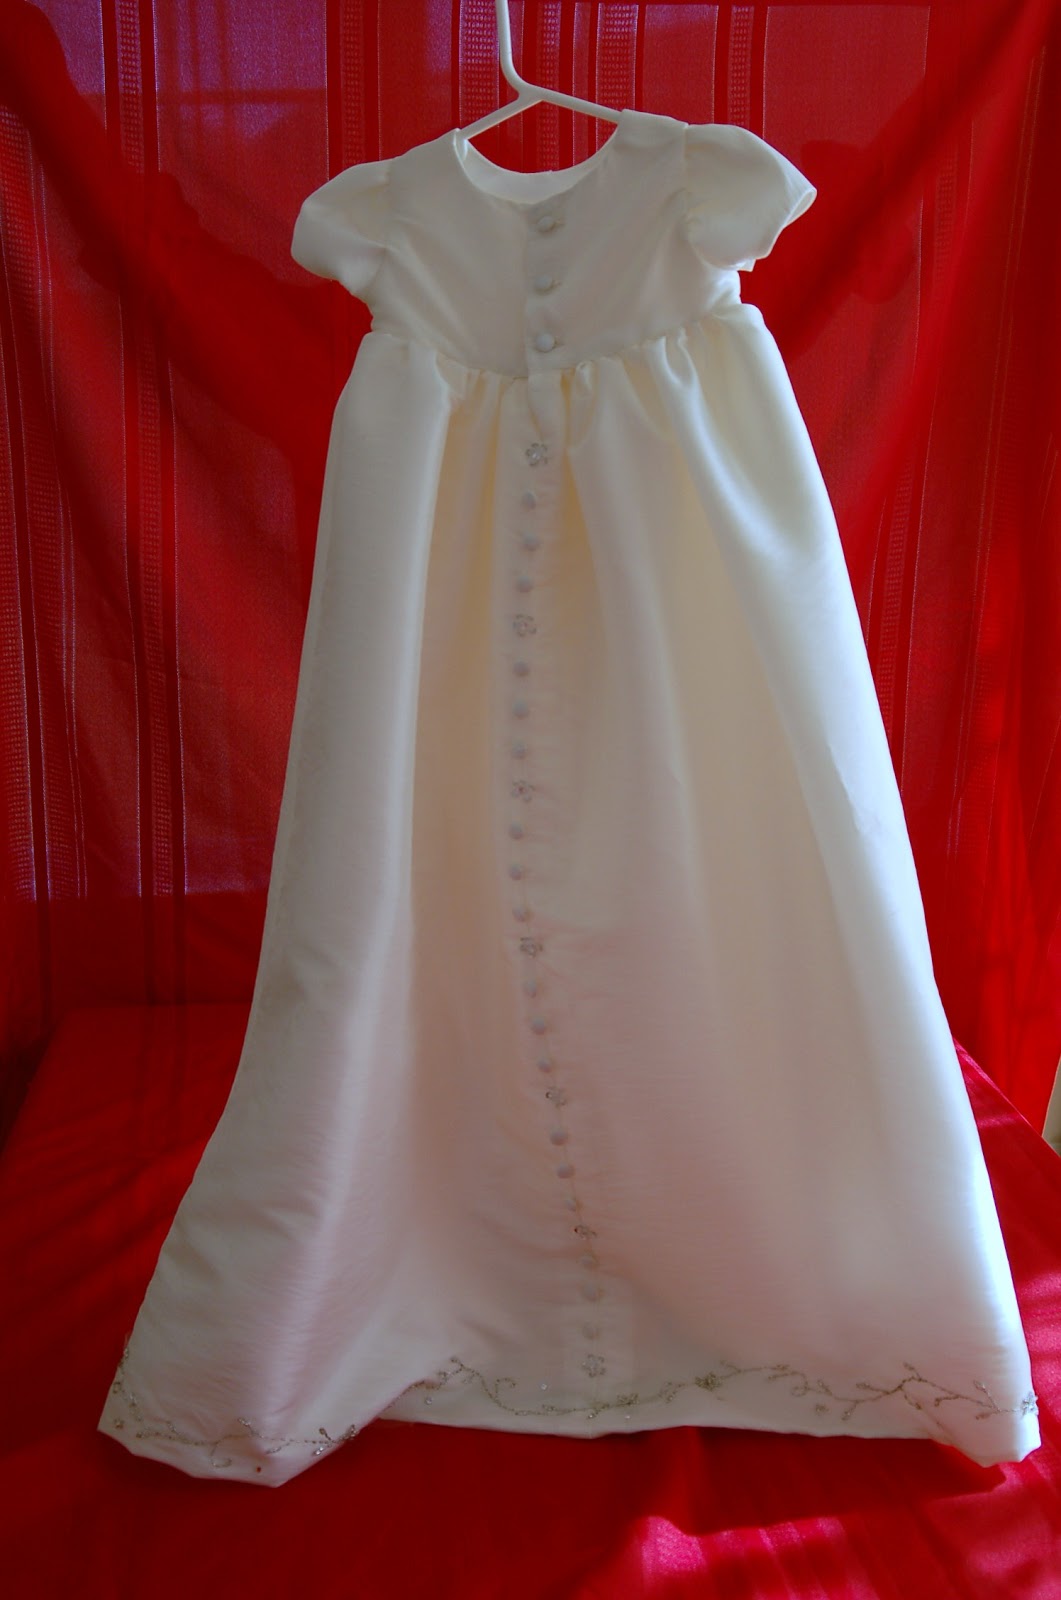
Our latest customer, brought us her gown that had been thrown into a black garbage bag and stored who knows where! Trying to find clean fabric to use for the gown was quite a challenge. We usually tell people to get the christening gowns cleaned after we work on them, rather than before, but this one was a doozy! After undoing the bustling and de-construction, we were able to find a good amount without stains. We also like to use bead work from the gown to decorate baby's gown, but we found this bead work to be rather clunky for a wee baby. Fortunately, mom brought along her veil, cathedral length, decorated in very delicate bead work all the way around, which I carefully cut around and placed on the hat, jacket and the bottom of the gown. I used silver embroidery thread to hand sew it all on. We did find some larger bead work from the bodice to use on the bodice of the gown to tie it all together and the back of the wedding gown became the back of the christening gown. Mom was very happy with the results and hopefully we'll receive pictures of baby in her gown.


Saturday, July 2, 2011

Wedding Gown Convert

Our newest confection began this time with a beautiful ivory gown with ecru satin finishing off the bottom and around a waistline that was so small, I don't think I've been that size since I was about 3. The dress was memaid-ish in style so that meant there was not alot of fabric. Jenn, the newest member of our "family," ordered not only a gown for her daughter's christening day but also a boy's romper "just in case". She also wanted a jacket, but by the time we cut out those two outfits, there was nothing much but scraps left. In trying to mirror her gown for her daughter, we had to remove several appliques from the sides and back (stubborn little suckers) and re-applied them to the dress and bonnet, while using the satin waistline on the gown and the satin edging on the bottom of the dress  and to finish off the bottom of the boy's romper and the bottom of the gown. We put a little bit of each of us in our creations, (ouch, sometimes more than a piece) but we love every minute of it. God's blessings on your christening day!

Wednesday, November 3, 2010

Wedding Gown to Christening Gown

 Our newest customer brought her wedding dress to us a couple of weeks ago requesting it be turned into a Christening gown for her new daughter. The dress had not been cleaned after the wedding years ago and it was evident that she had a great time that day! After carefully de-constructing the gown, we were able to use the front part, that was a panel of lace, appliques, beads and sequins as the front part of the gown, the bodice front & back and the back of the bonnet. The rest of the gown was bridal satin which we used for the back of the dress and the puffly sleeves as well as a jacket and the rest of the bonnet. Carefully removing some of the extra appliques, they were hand sewn onto the jack & the bonnet for a cohesive look. The tricky part of cutting out the Christening dress was trying avoide the stains on the dress. Of course, after we started de-constucting the wedding gown, I realized I should have taken a "before" picture. Duh! So, here's the after picture, which really don't give it justice. We're so proud of how it came out and best of all mom was thrilled. She'll be coming back with baby in a few weeks to make sure it fits for her special day.